This article is a port from a thread on the Apple II Enthusiast Facebook group. The author of the original thread is John Keoni Morris. The thread is transcribed here as is.
Context: An Apple IIc owner reported that their system was seemingly having RAM issues.
Process:
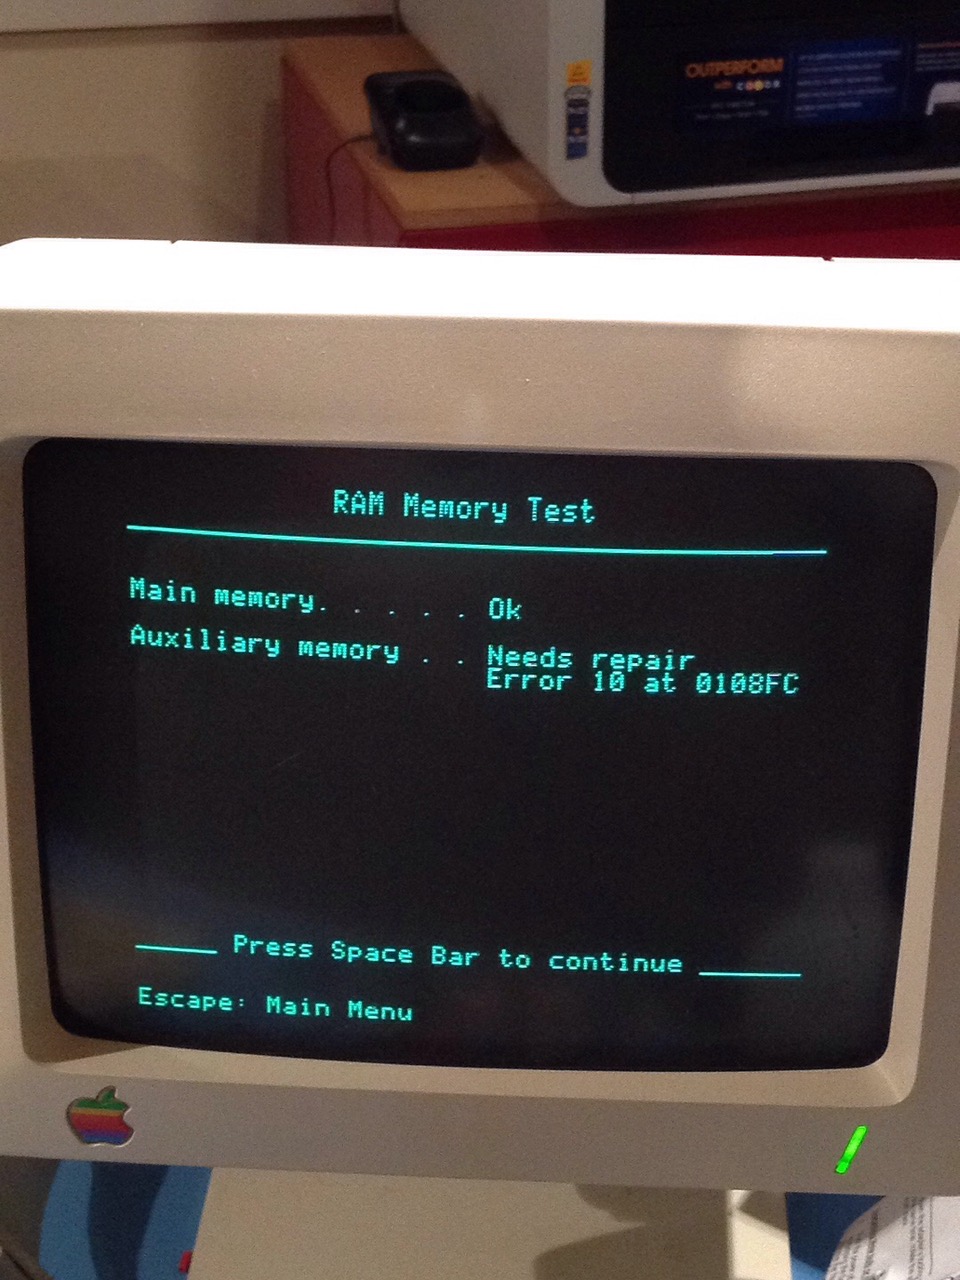
- First off we will verify that it really is having a RAM issue. The issue that it was showing previously seemed to be a chip in aux RAM. It is a ROM 255 machine, so there is no useful self test function. So, I’m using MECC Computer Inspector to do a RAM test. It runs all in main memory (and 40 columns) so it should work. And it looks like we guessed correctly with an Aux RAM issue. Unfortunately, this tells us that there is an issue, but not which of the 8 chips is having the issue. For that we are going to need to upgrade the ROM to get the self test going.
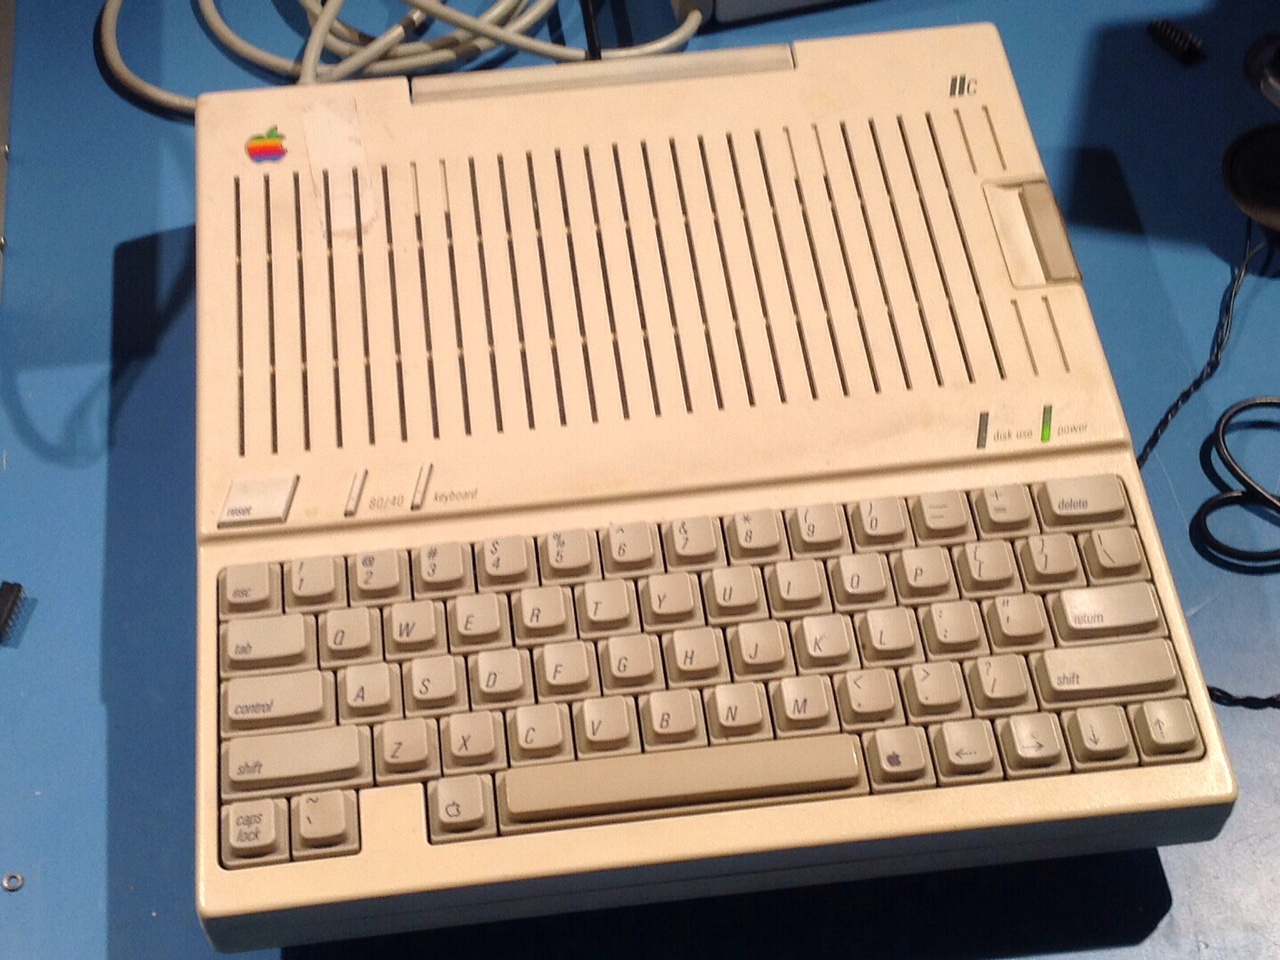
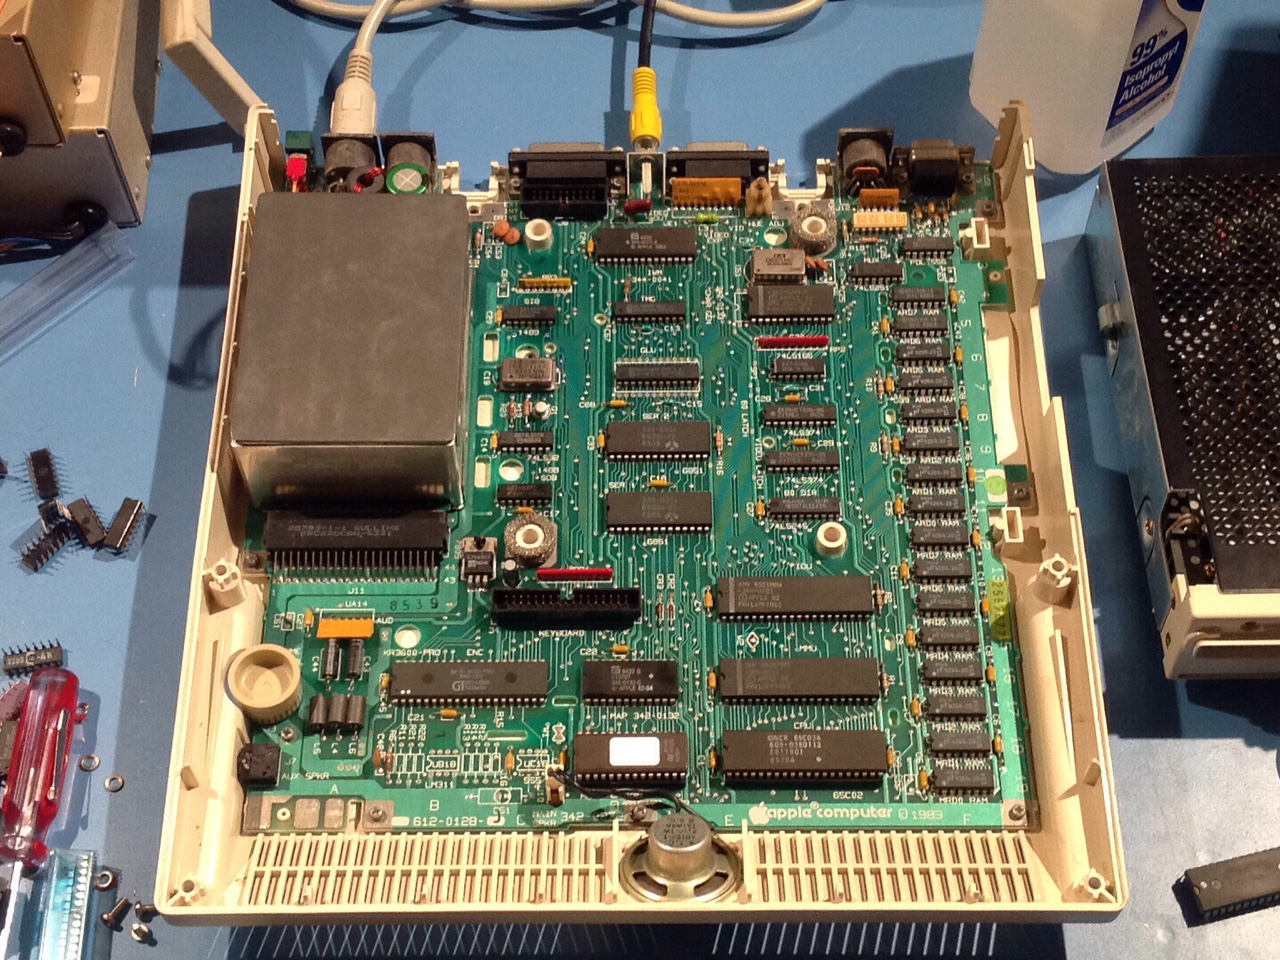
2. Time to open her up and have a quick inspection. Everything looks fine so far. The top of the case is filthy, so I am going to give it a quick cleaning so it has time to dry.
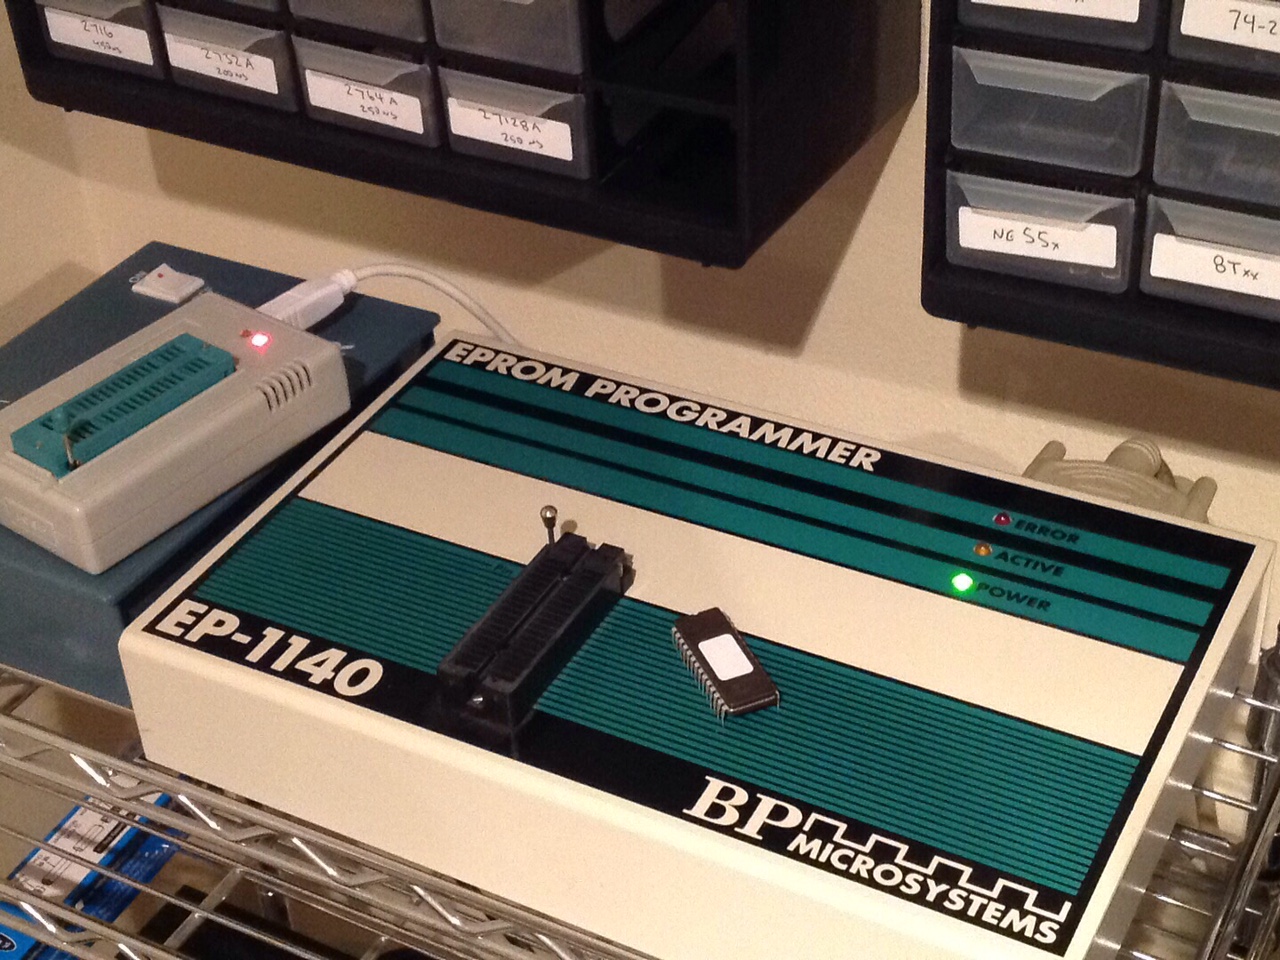
3. Burn a 27c256 EPROM with the Apple //c ROM 3 code.
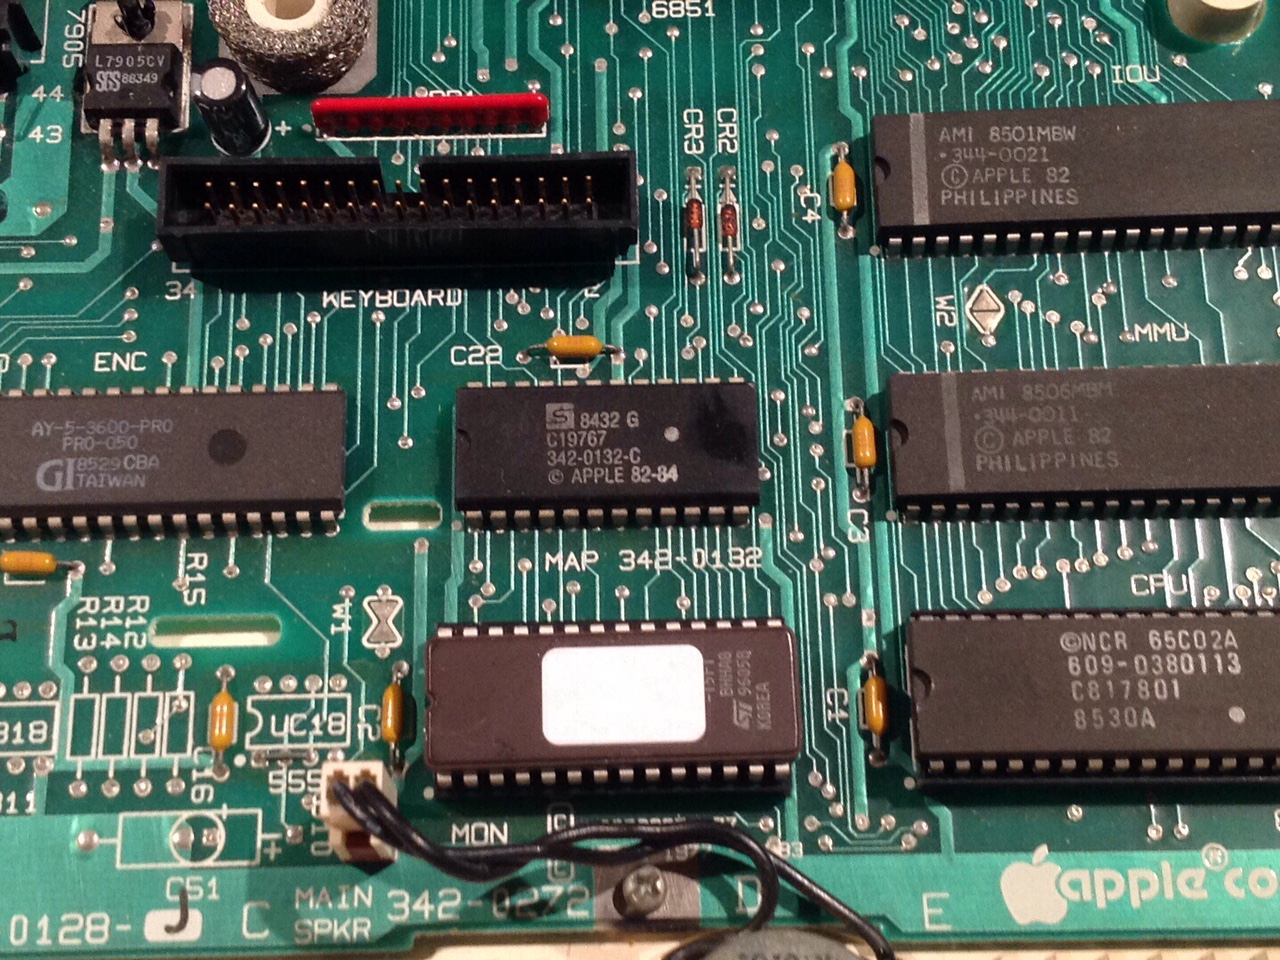
4. The ROM is in place. Now we need to modify 2 jumper locations on the motherboard. We need to make these changes because the original ROM 255 was a smaller (27c128) chip. Luckily Apple must have known that they were going to use a larger ROM in the future because they have the motherboard wired for it. The 2 jumper locations are labeled W1 and W2.
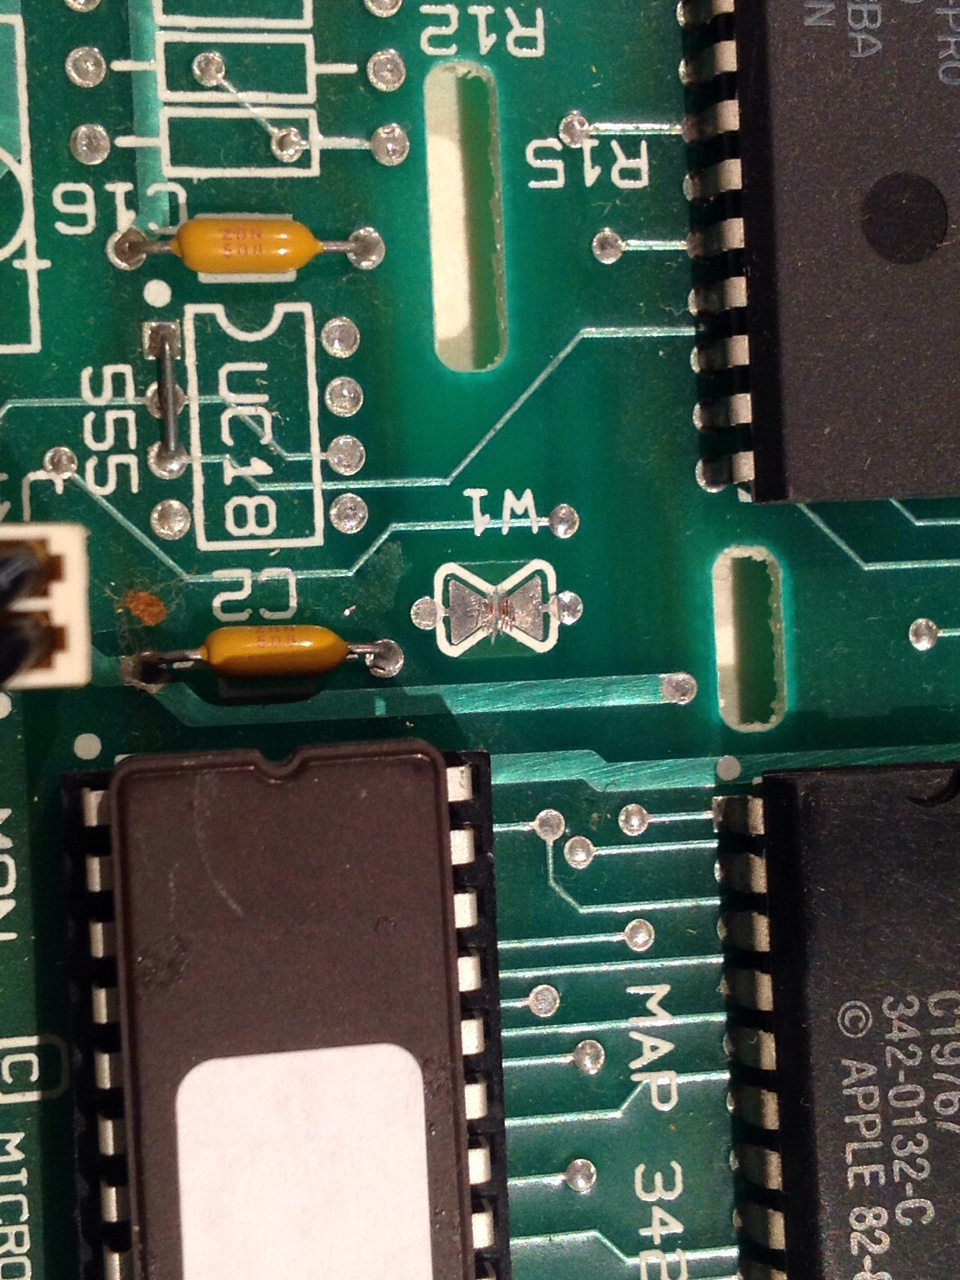
5. W1 gets cut like this.
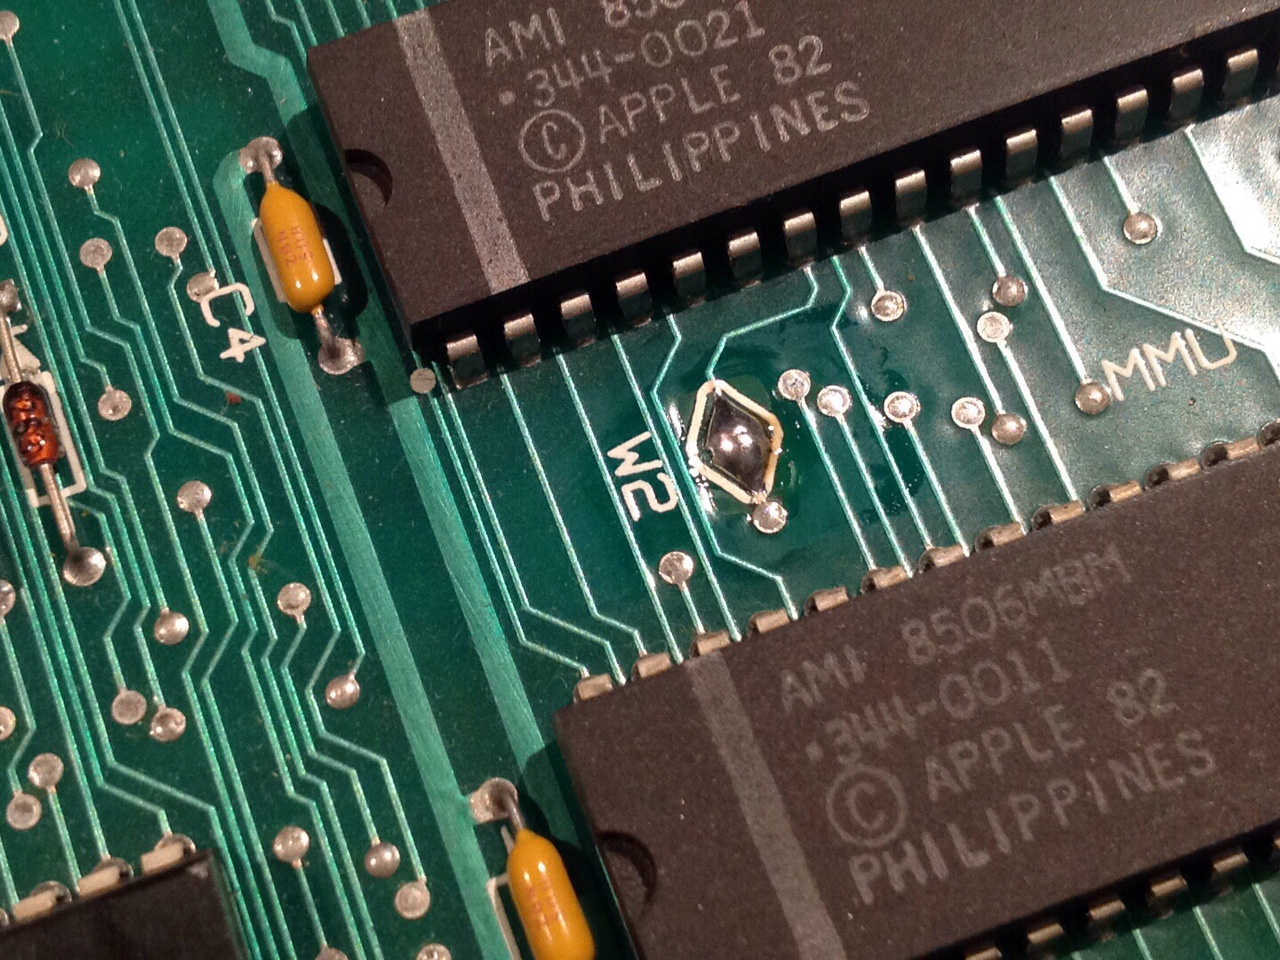
6. W2 gets jumped with some solder like this.
7. We are going to start it up without hooking the floppy or keyboard back up. Starting the computer without a keyboard forces the computer into self test mode which normally is a problem, but in this case it is exactly what we want.
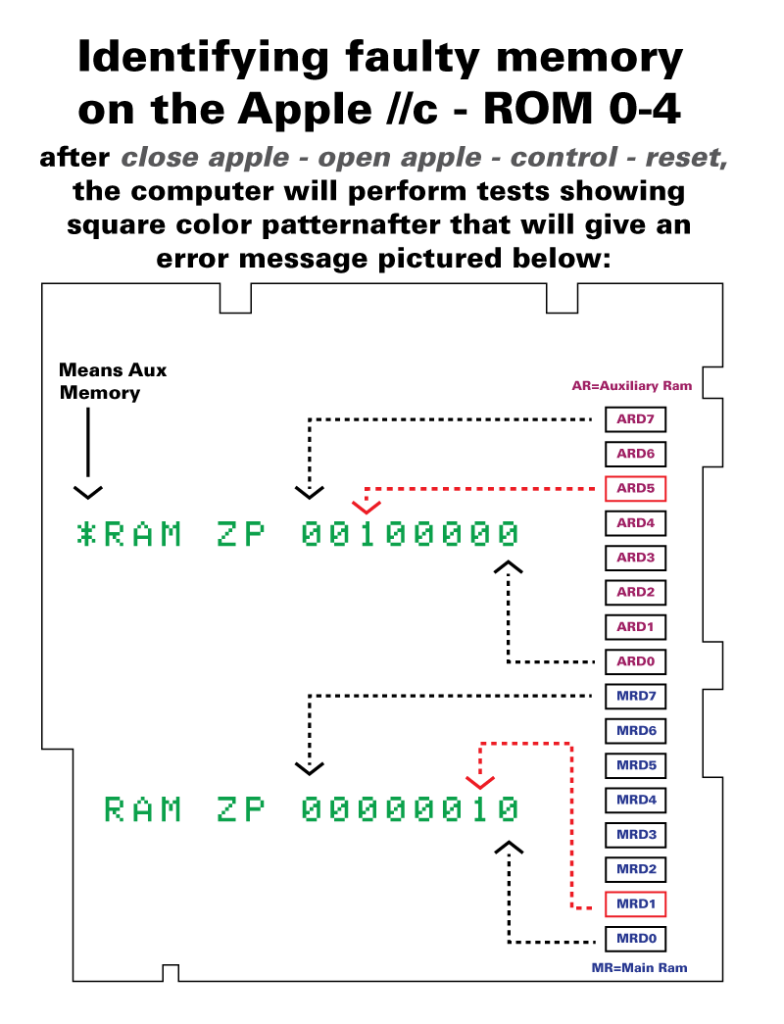
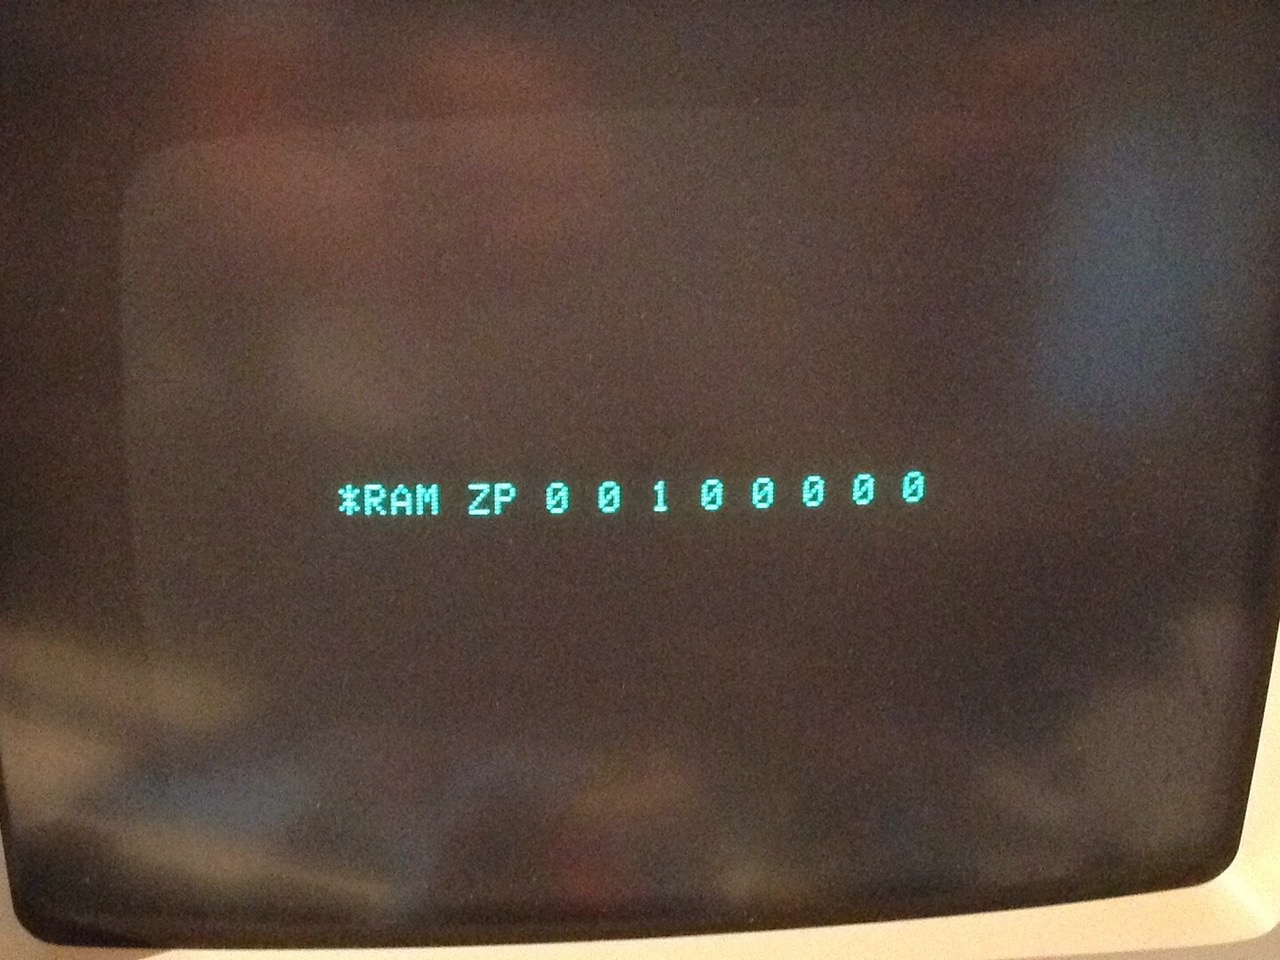
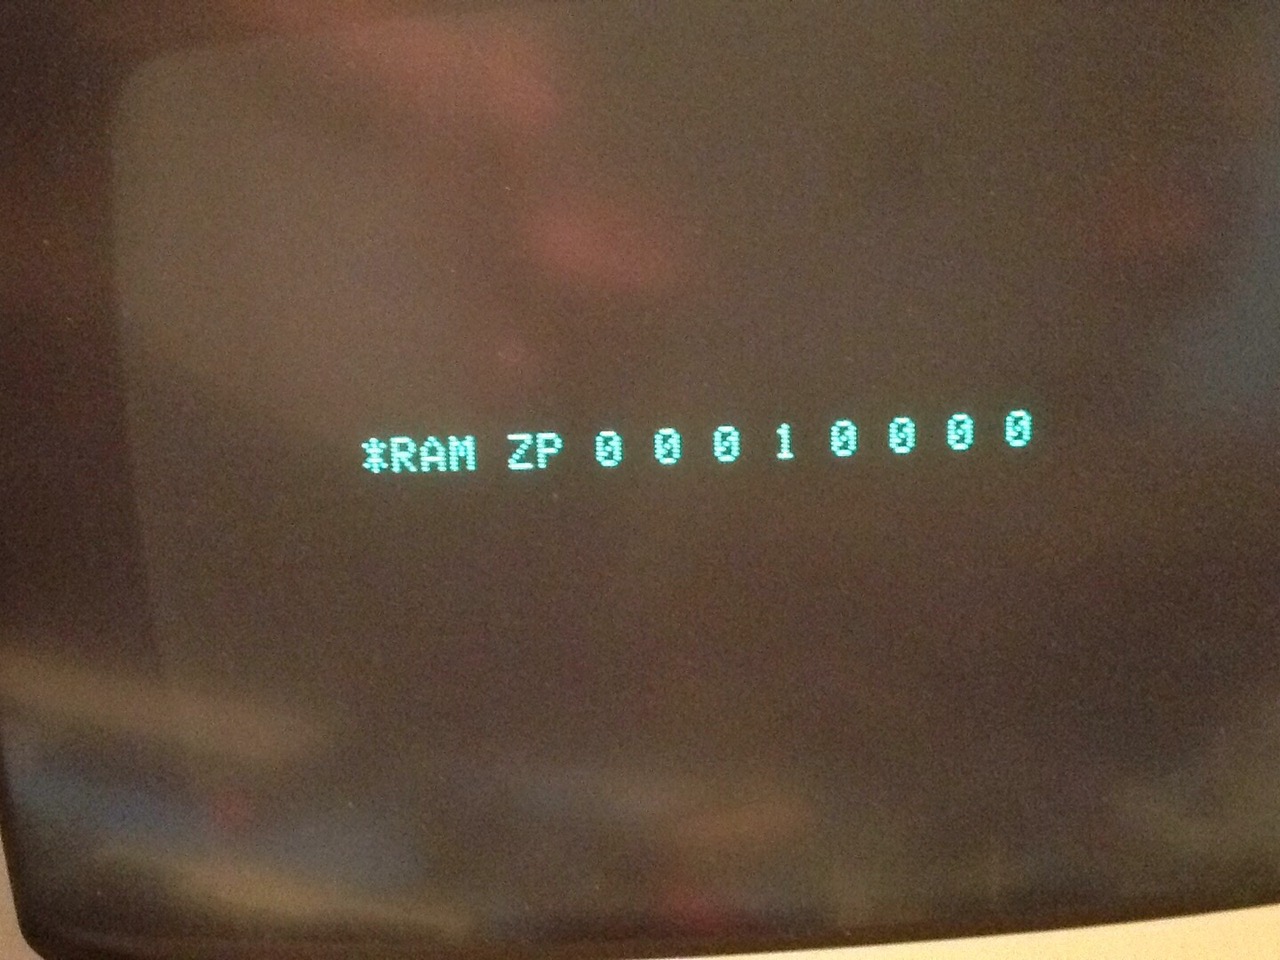
8. The self test ran and we have this to show for it. This let’s us know that the ROM upgrade is working fine! And pinpoints which chip is faulty. The * before the work RAM means that it found an issue is aux RAM. The 0s and 1s each represent a chip. The rightmost 0 is for the chip at ARD0 and leftmost is for ARD7. So, this is saying that ARD5 is faulty.
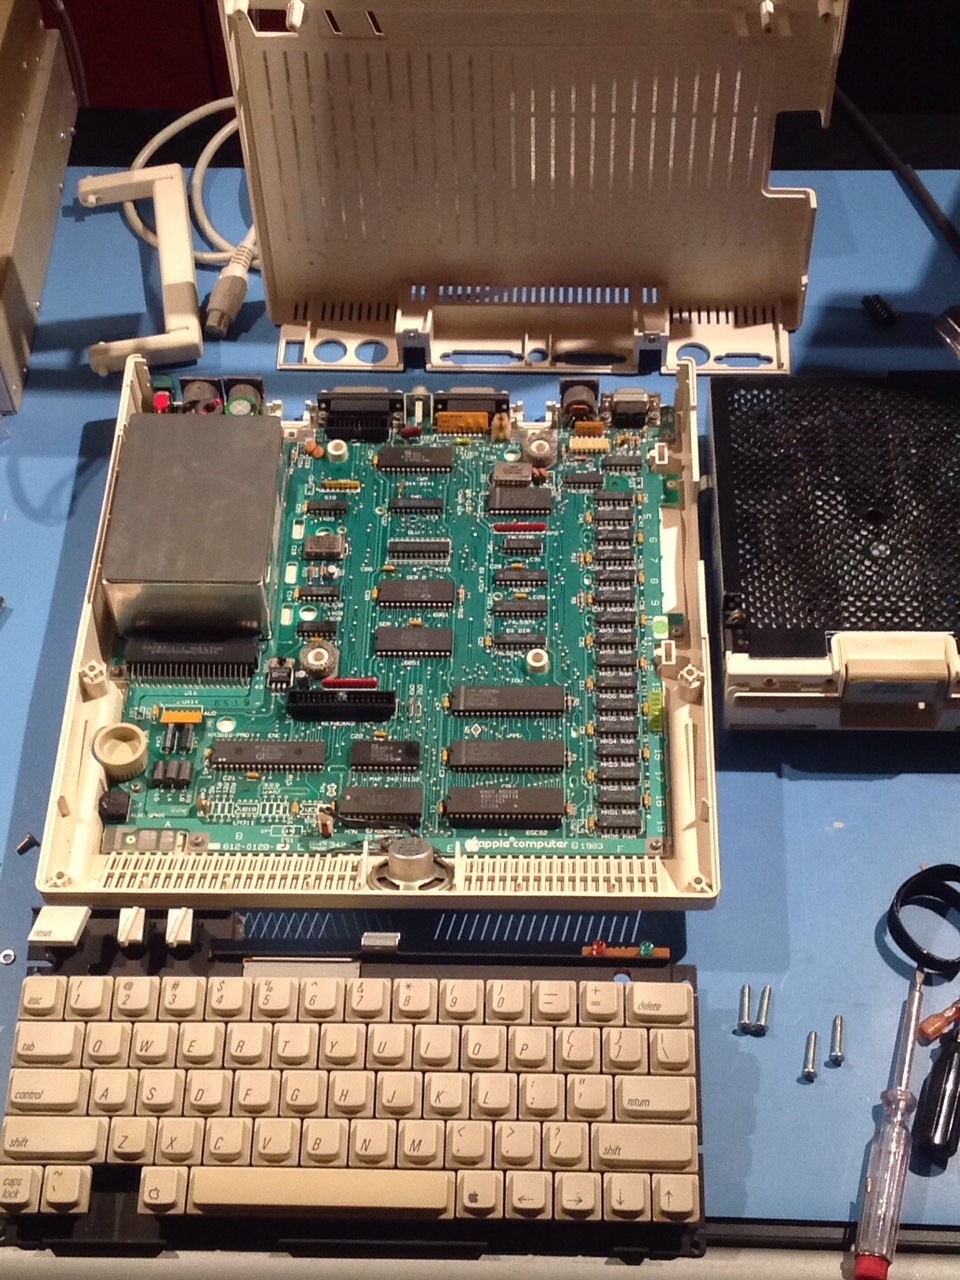
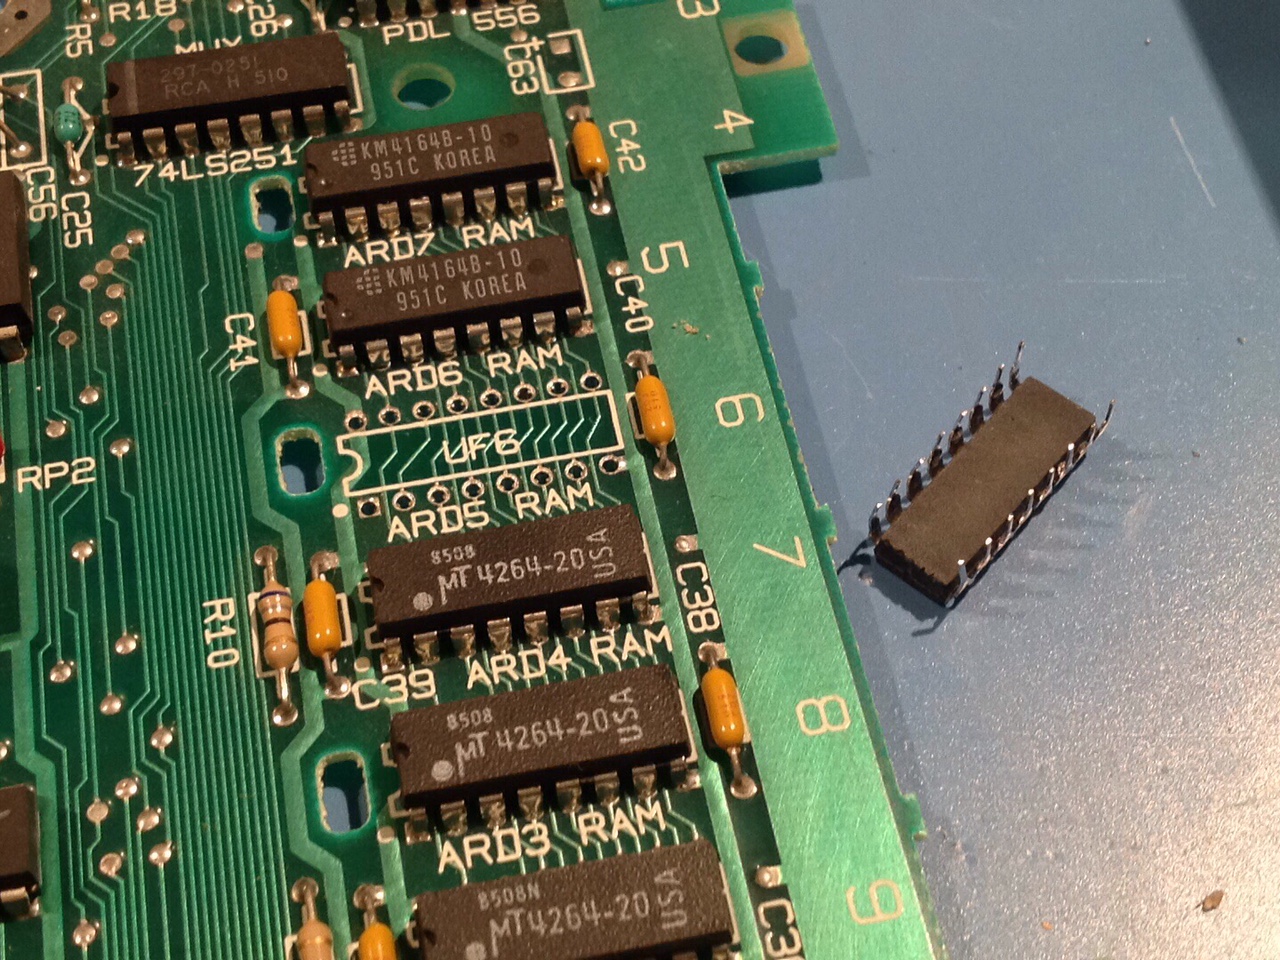
9. Ok, I pulled the motherboard in preparation for the chip swap. Interestingly, it looks like ARD6 and ARD7 were changed out previously.
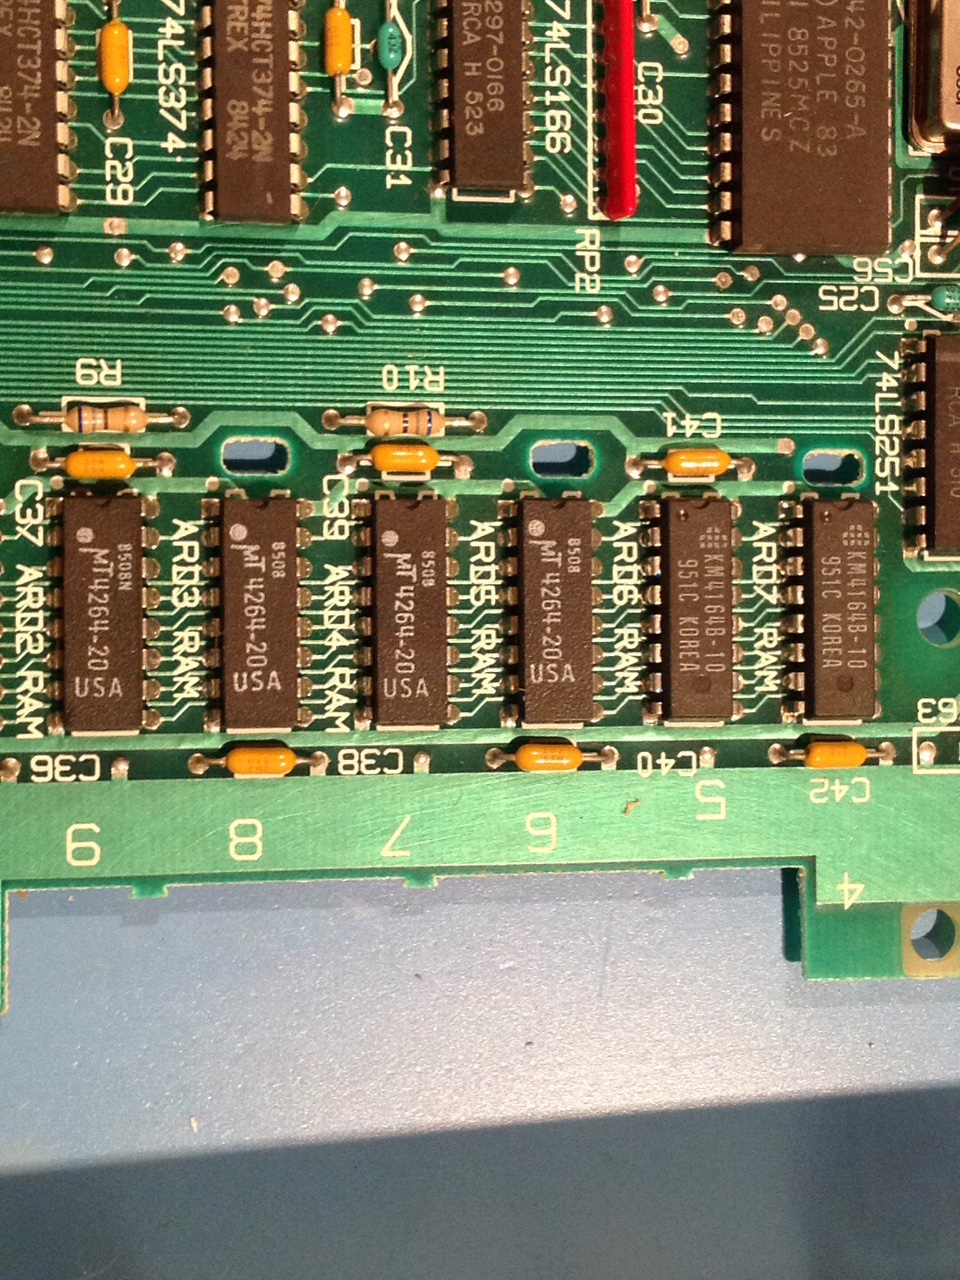
10. Yup, they have definitely been changed. Doesn’t look like bad work though except for lots of leftover flux. I’ll need to clean it up and inspect under the magnifying glass to be sure.
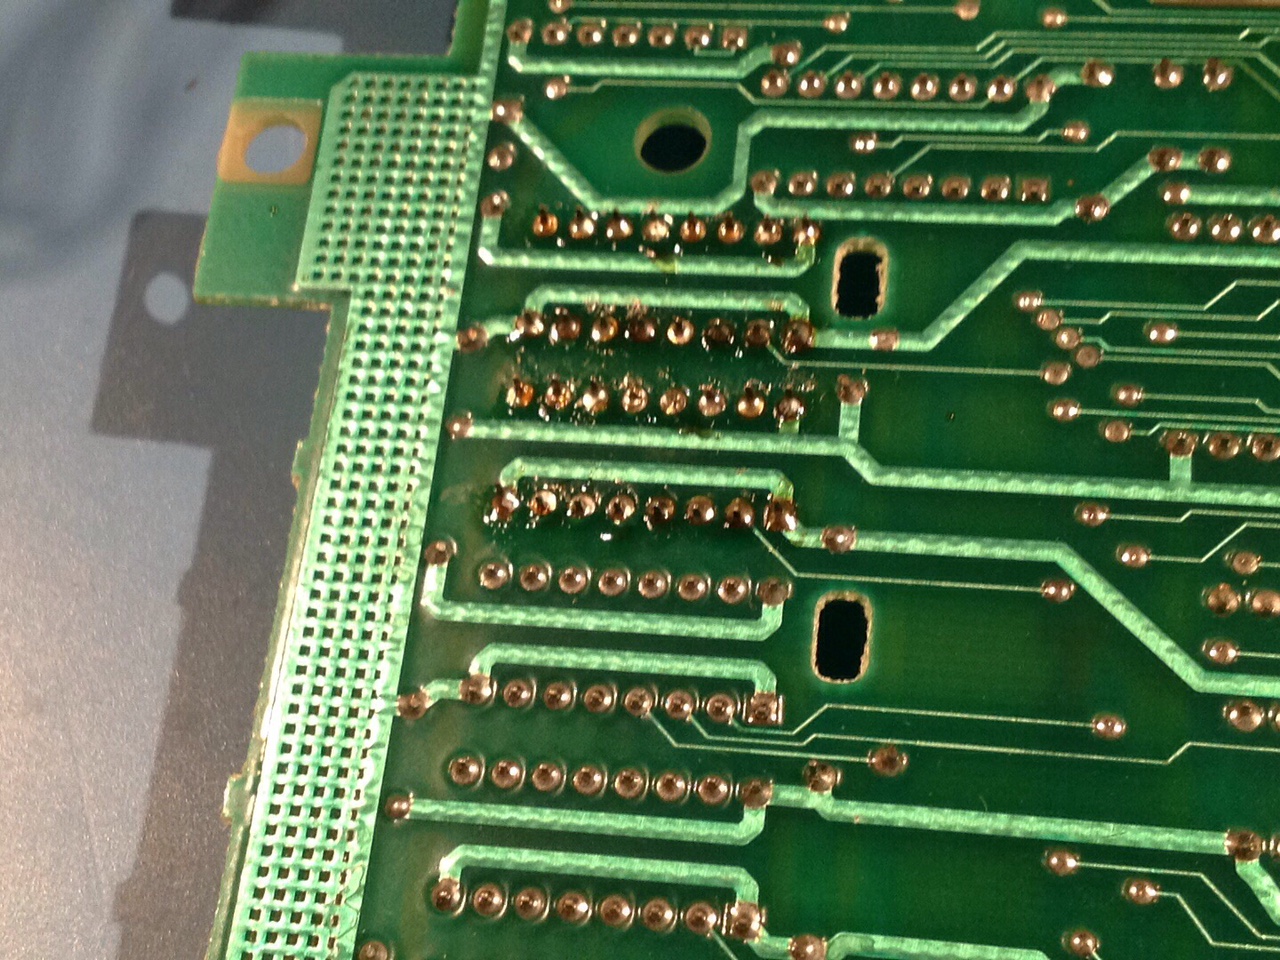
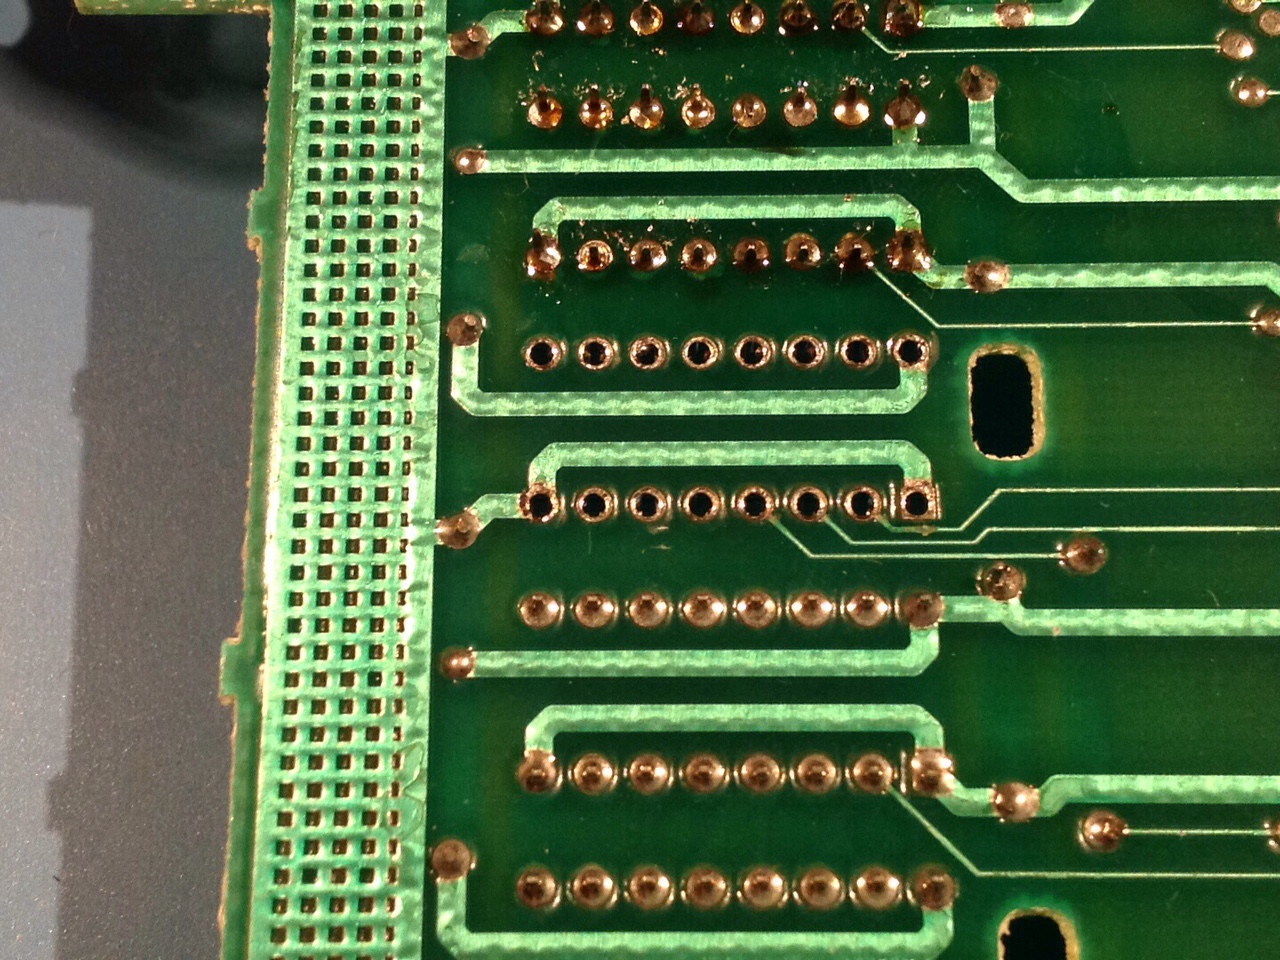
11. Nice clean extraction. If you ever wondered why using a vacuum desoldering tool was so great, this is the answer right here. Took less than 1 minute and the holes are perfectly clear to drop in the new chip.
12. And this is where we talk about the fact that the self test stops at the first error it finds. It now says that ARD4 is also bad. And ARD3 decided to join the party as well. But, it is now successfully cycling through the self test! A few more minutes of testing and then it is time to put things back together.
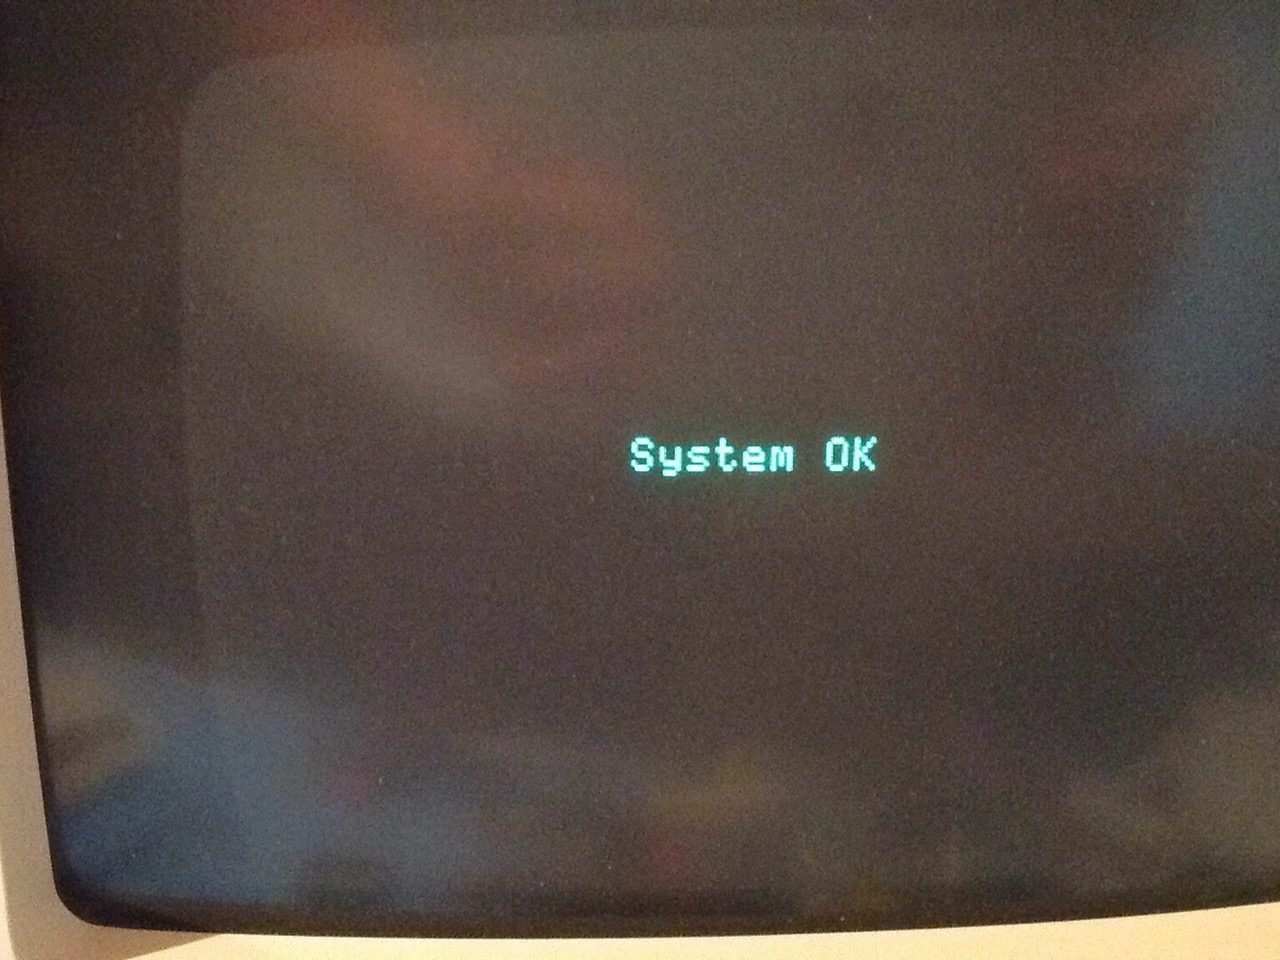
13. Ok, that is much better! Time to throw some real testing at it.
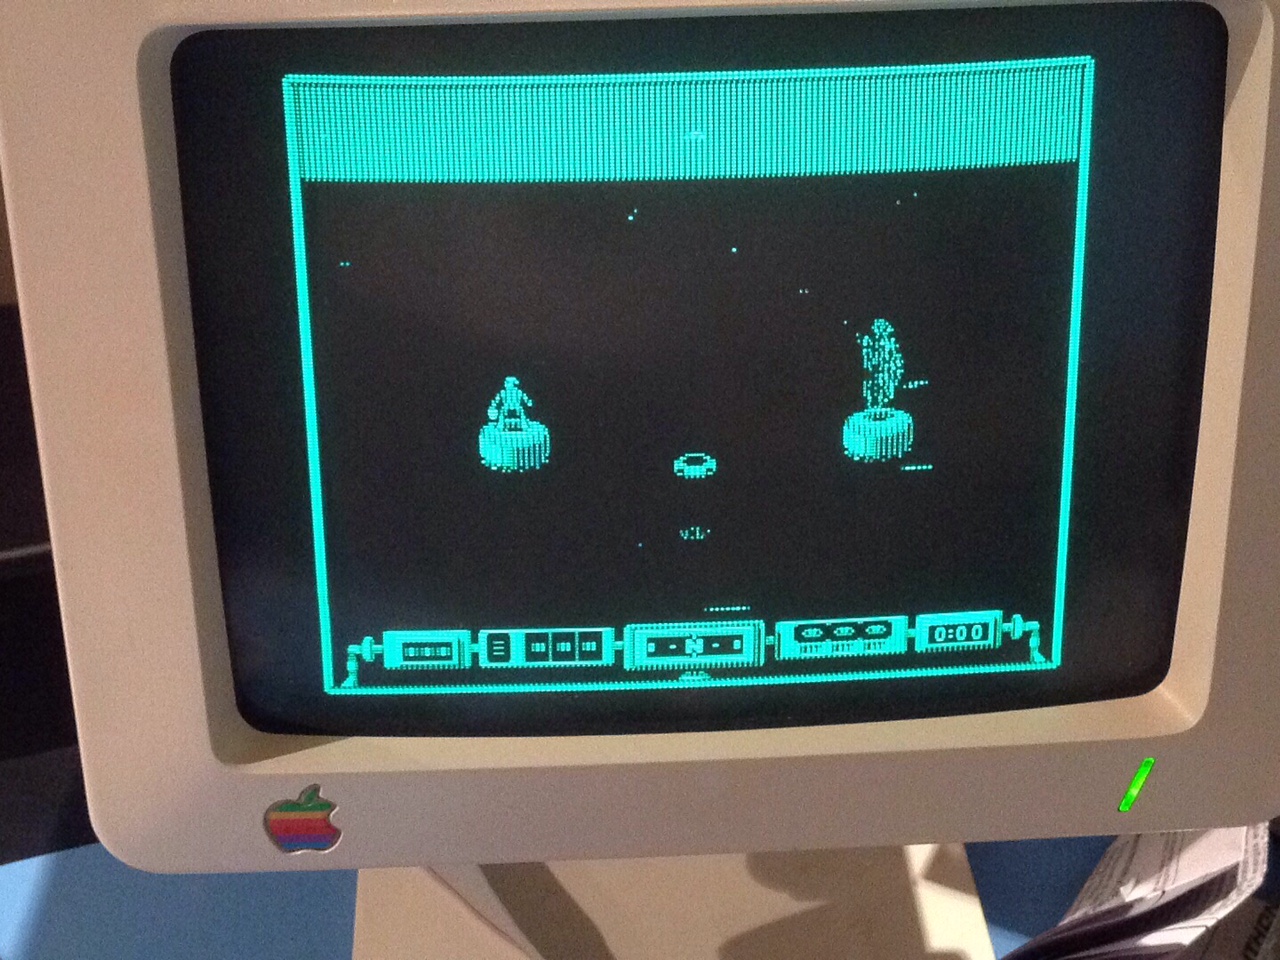
14. Airheart says that this //c is ready for service!
15. I think that [the owner’s] original issue was crashing when trying to run the System Utilities disk. So, just better check that as well.
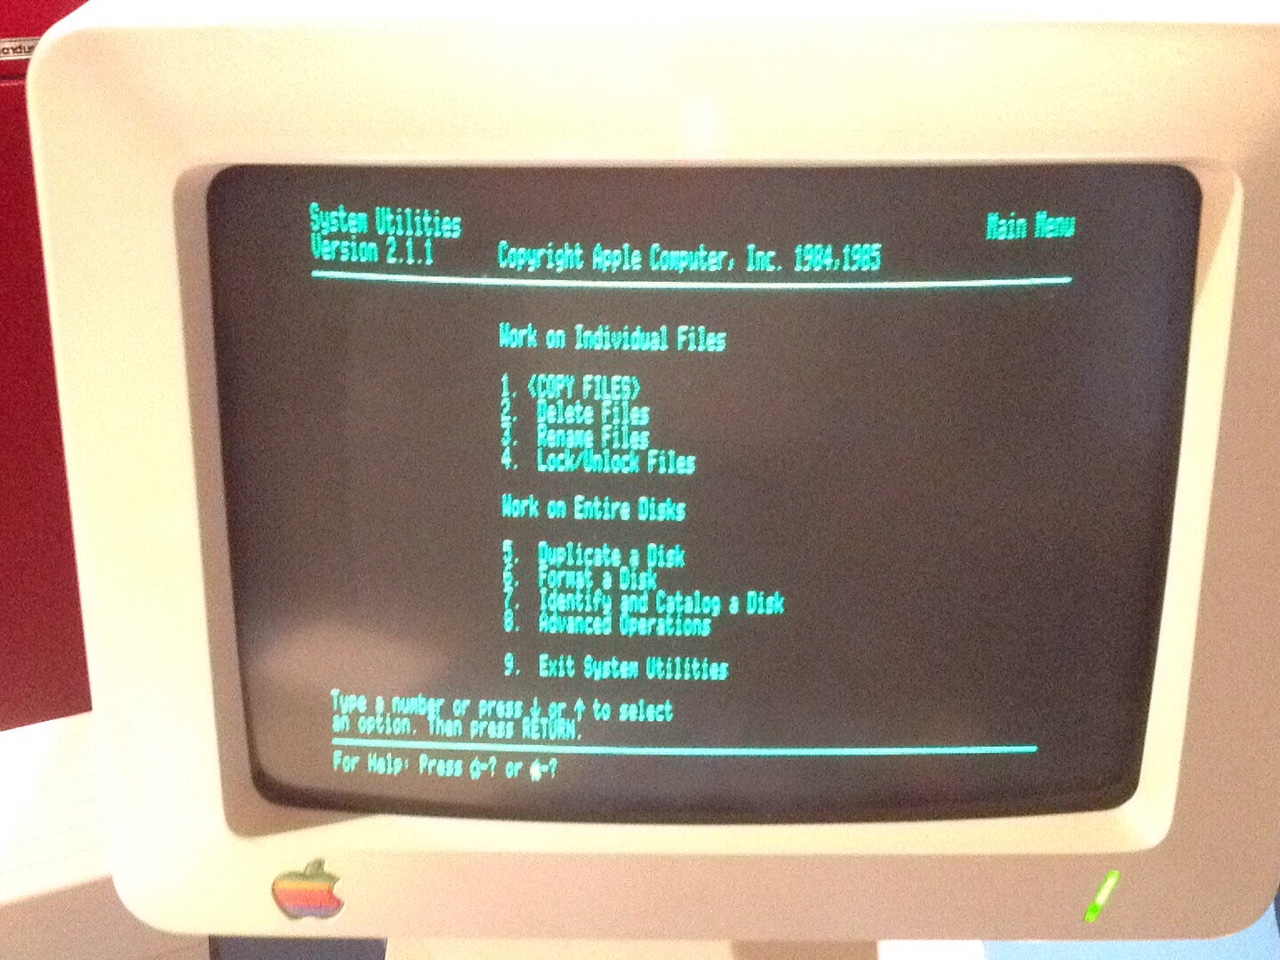
16. Looking pretty good!
