Knowledge Base Help Center

Login

< All Topics
Print

Adjustment of 5.25 floppy drive speed

Important: this is an excerpt from the Applebox site copied with permission

Although there are a lot of software programs out there to adjust the speed of a drive I will only comment here a selection of the 3 most common ones and will leave those from the shareware market aside, due to the fact that most of them might be neat but in fact most of them have a poor user interface ( just even some of the commercial ones are not really good)  in fact its one thing turning blind a screw to adjust the speed and another
thing besides with another eye always trying to read a fast changing display with some changing numbers…

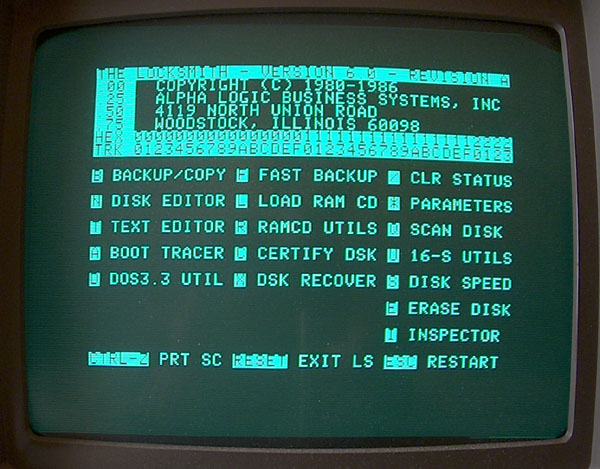
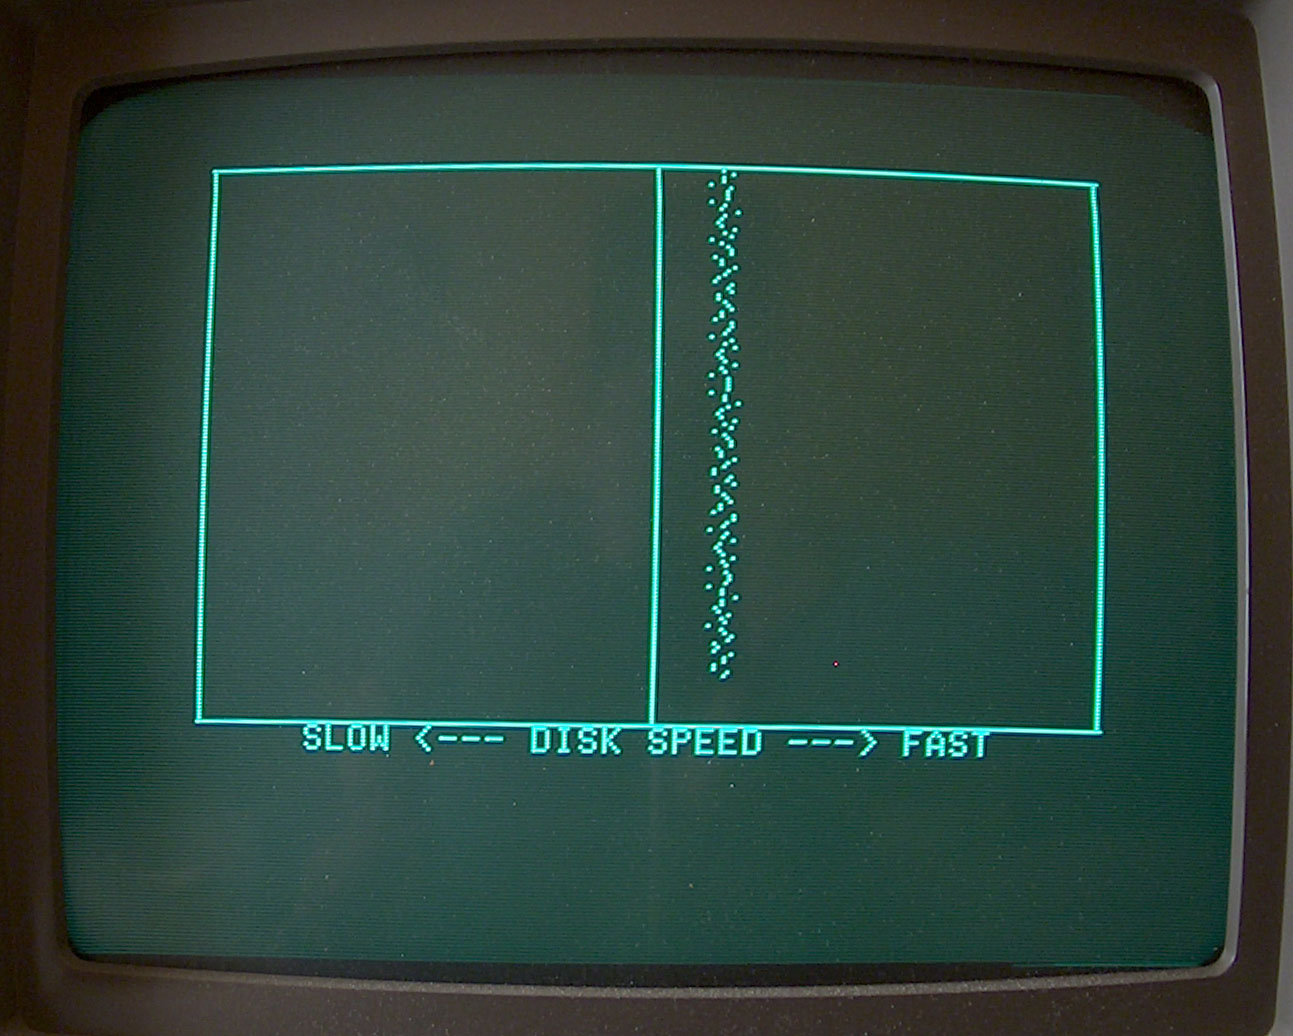
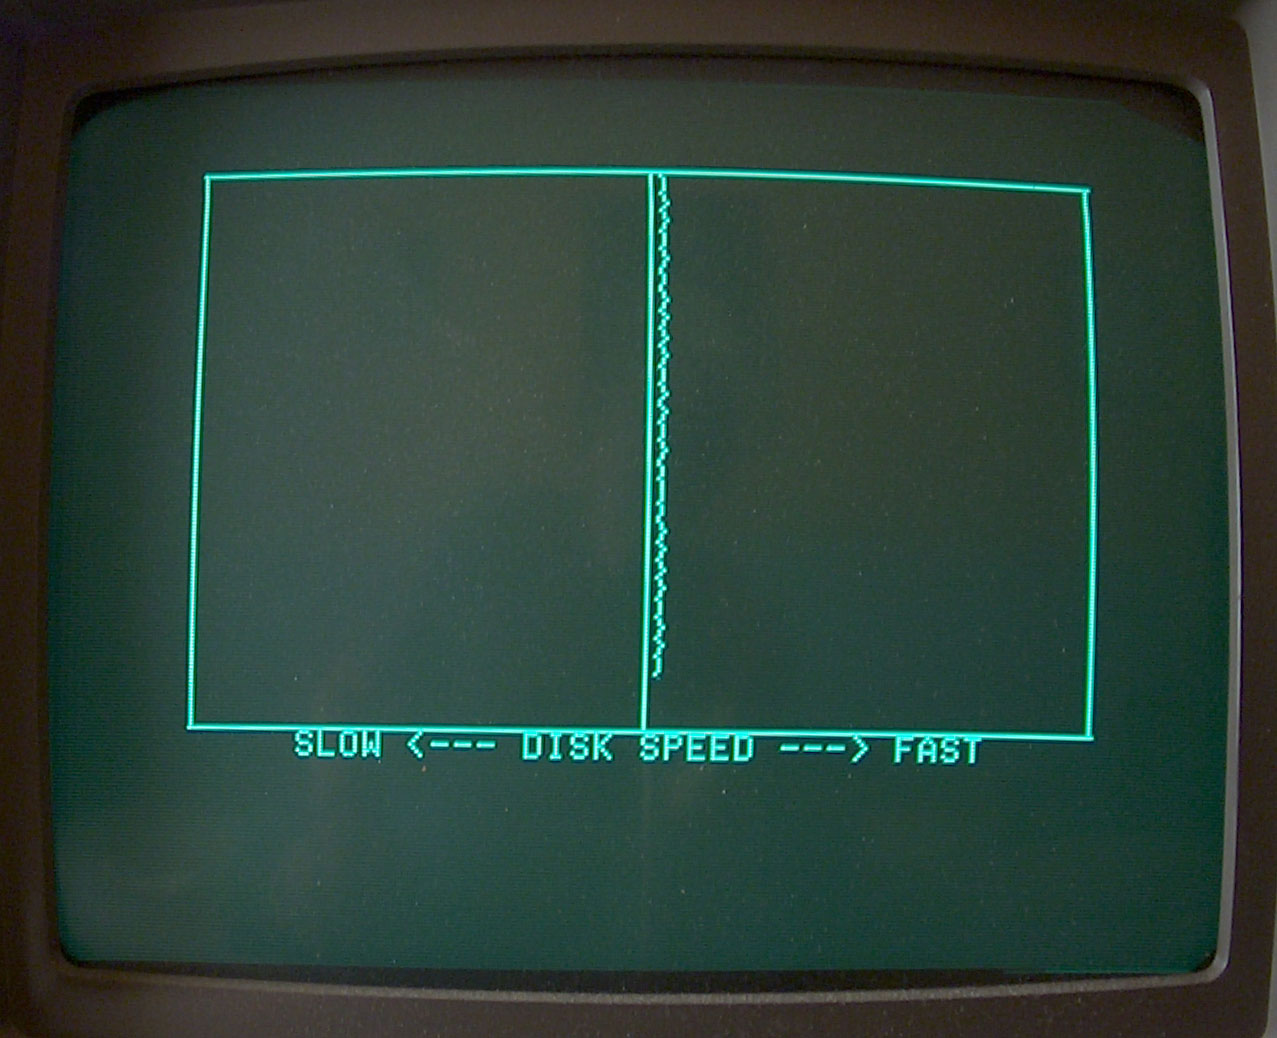
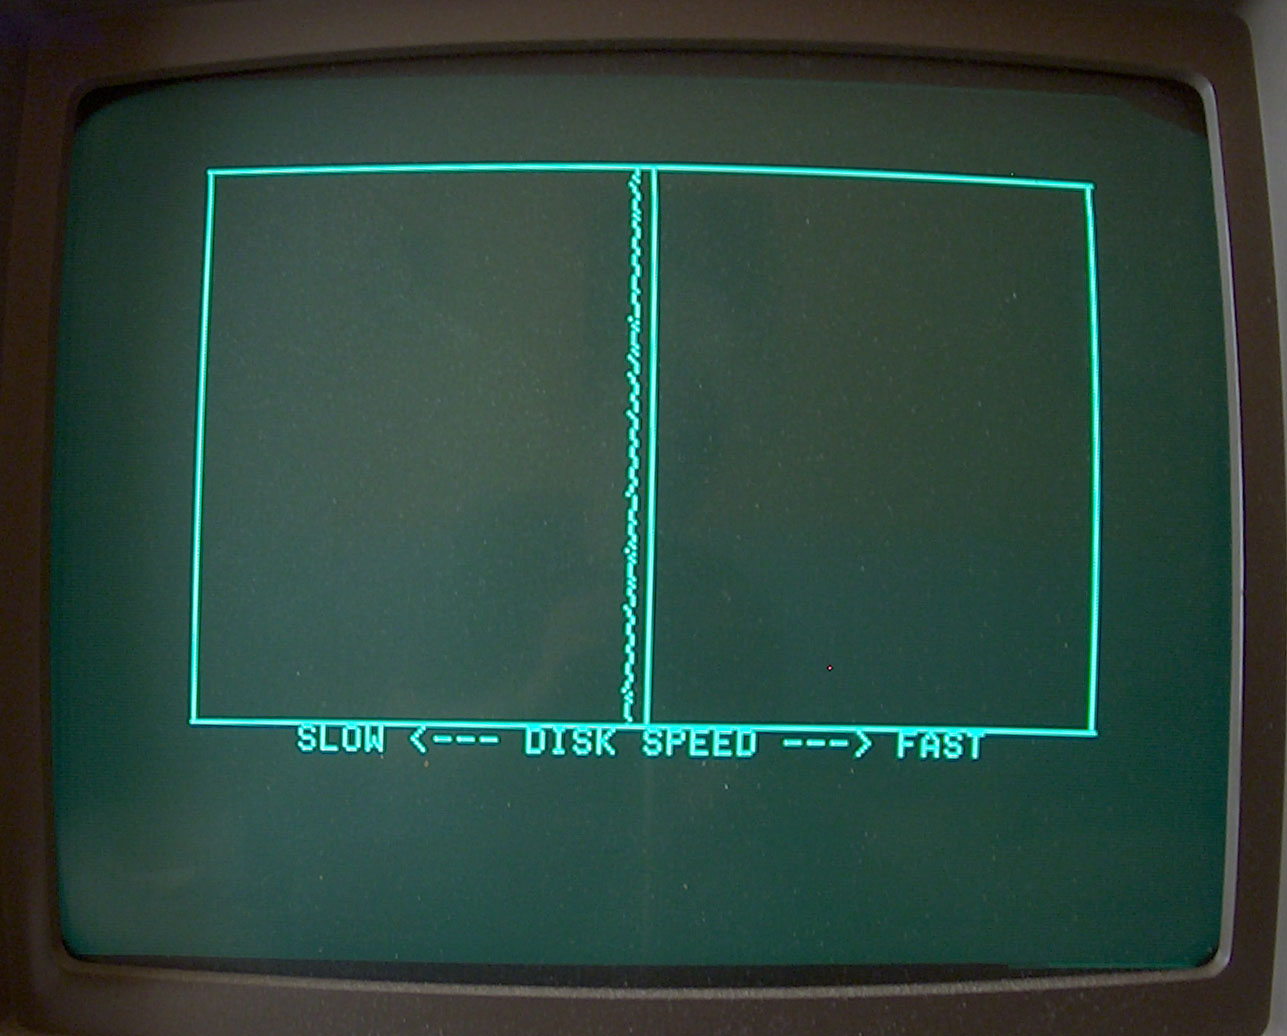
That’s the reason that the Copy program Locksmith in the Version 6.0 is still my favorite…. the display shows a line of dots in row as a line and you can tune that line very easy without ruining your eyes or getting headache and still you will be able to keep one eye really fixed to the drive and the adjustment screw!
18IIcDriveViewBotttom

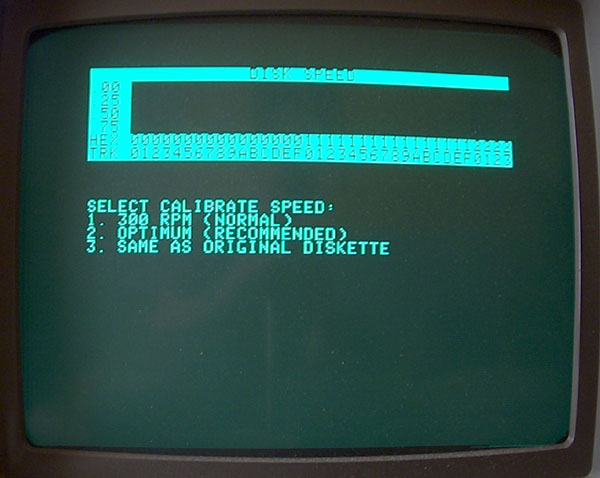
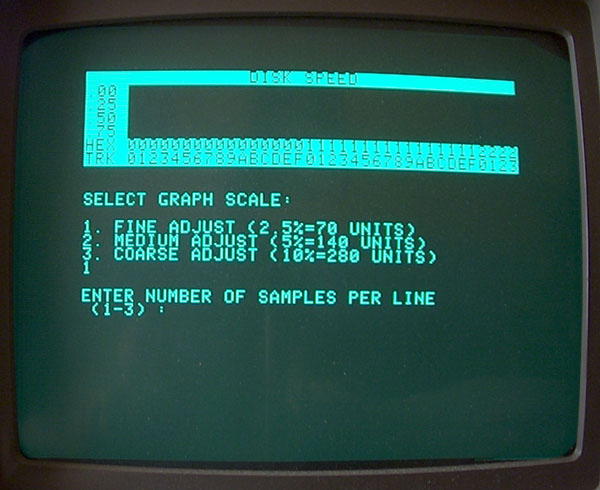
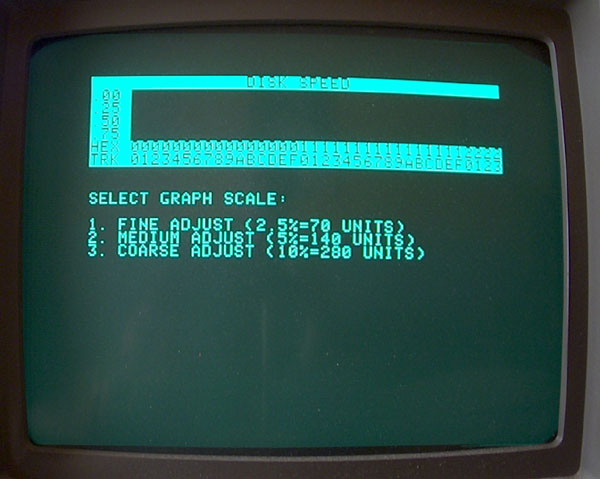
The second big advantage of Locksmith is the fact that you can choose the scales of operation-mode starting at large scale range – tuning the line to the center – then restart with the middle scale option – tune the line carefully closer to the middle – and thereafter you can change the option of measurement to the smallest range of only +/- 2,5 % and then tune-in the line nearly to hit the center with just very small drift to the lower speed side and get some adjustment somewhere about less that 0,1% slower than perfect… that should be the best to get – if you want the drive to stay in secure area ( remember what I explained above about being to fast and taking risk of overwriting the previous sector ! ) – so you should always keep very close below the real center to make sure that even with some slight changes of the speed as result of temperature or attitude of spinning motor temperature you keep to “safe-side”.

Speed adjustment with Locksmith Ver. 6.0

27Locksmith1
Just choose DISK SPEED from right side of the menu list and then choose the drive to be tested either 1 or 2 from slot 6 controller and the start with large range options towards the options with smaller range starting with 1 and then switching to the option 2
27Locksmith3
The option 1 is the more general one and its range is larger … in fact the options are set that way that at Option 1 and selection of the range 1 in that option equals to option 2 at range 3 so there is a kind of sieve from Option 1 to range 3, range 2, range 1 and then switching to option 2 with range 3 advancing to range 2 and then the very smallest range 1 ! Up to my experience any working drive will show up at first choice !
27Locksmith7
A bad drive might show up with something like this if also the drive belt is bad because the spread in speed shows that the motor does not bring its power correct to the spinning table ( if belt becomes weak and flexible ) …. if the drive belt is O.K. the line should be displayed somehow something like the line in the second display below…
27Locksmith6
As explained before you start with the COARSE ADJUST and after pulling the speed by turning the adjustmentscrew towards to the center and thereafter you may proceed the the next step choosing the MEDIUM ADJUST and finally performing the FINE ADJUST…
27Locksmith8
If your display looks somehow similar to this and is close to the center you may switch to option 2 : OPTIMUM and then again work ahead from COARSE ADJUST to FINE ADJUST.
27Locksmith5
Its easier to follow up the line if you allways choose the Option of only taking 1 sample per line …. taking more samples only makes sense, when adjusting the compensation – but not the drive speed !
27Locksmith9
This displays a perfectly adjusted drive at Option 2 ( OPTIMUM ) and FINE ADJUSTMENT with 1 sample per line ! This drive is adjusted to something about 0,1 % slower than the center. That “slight little bit slower” was explained above at the section with the disk pictures !
Table of Contents